Drywall installation in Menomonee Falls
Right board, right screws, fewest joints. Hanging done so the finishing goes easily.
Get a free estimate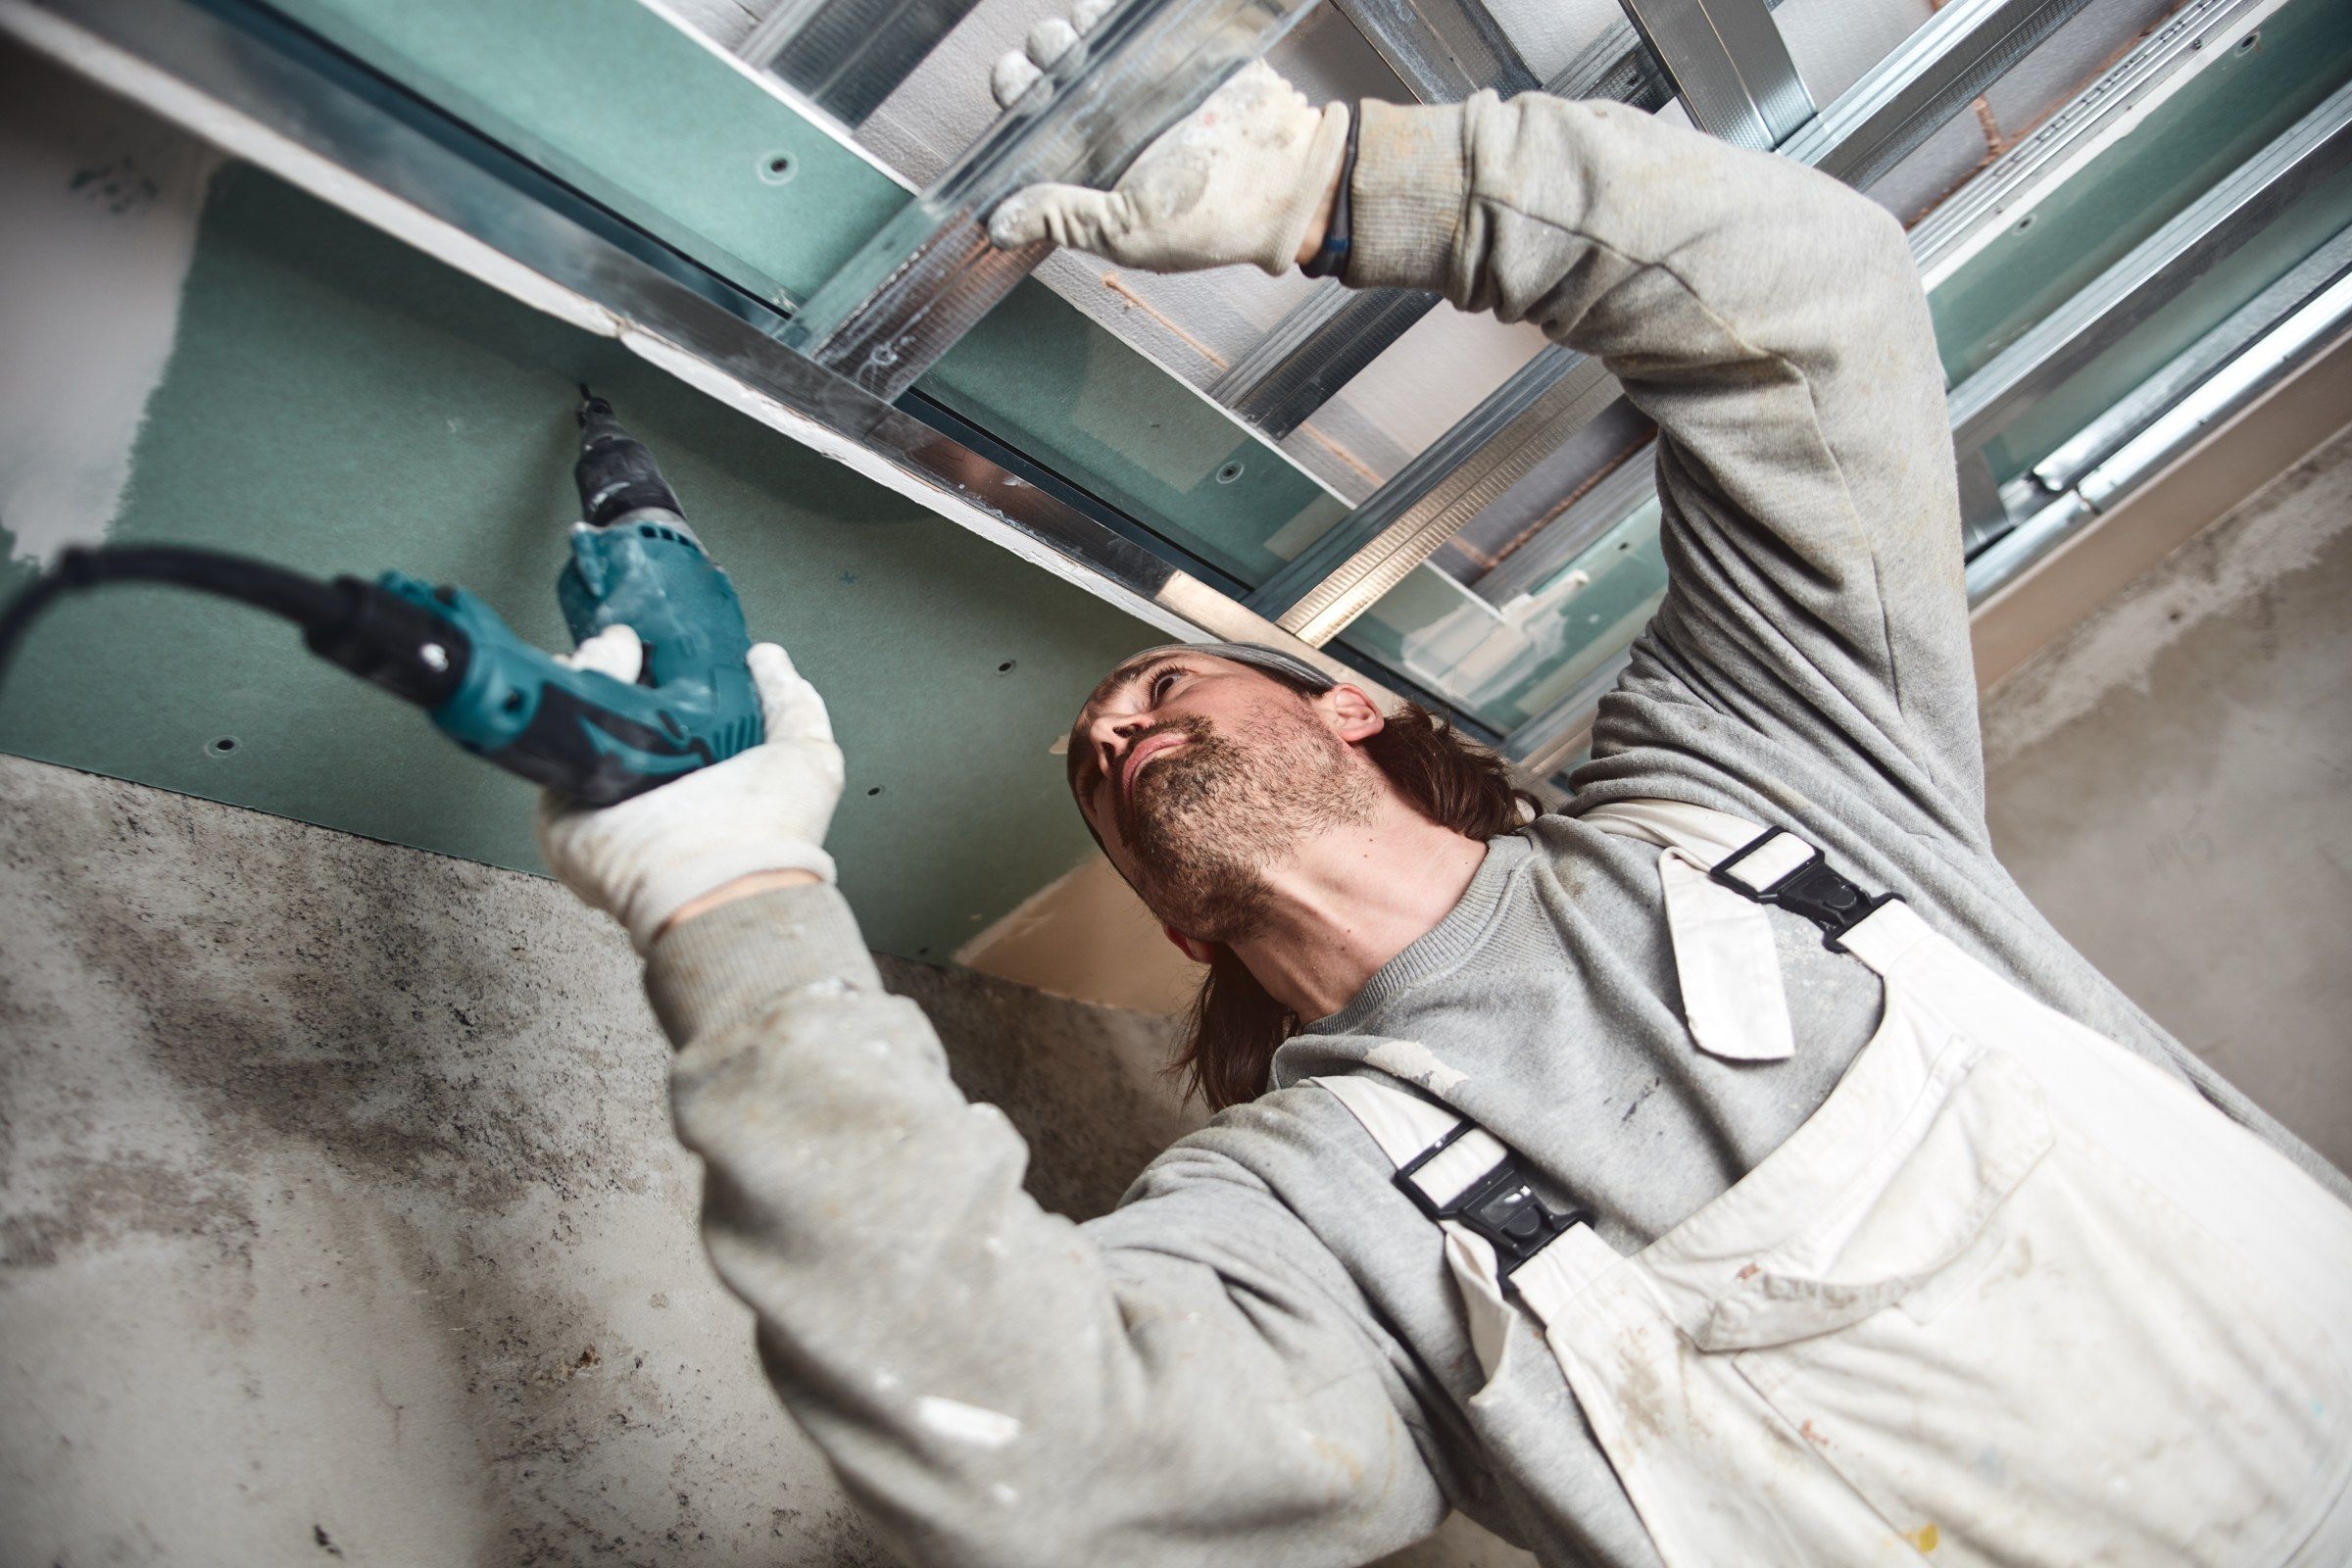
The short of it
Hanging drywall is the fast part of the job. A good crew can board a house in a few days. But fast is only good if it is also right.
How the sheets go up decides how many seams there are, where they land and whether they crack. That is settled before the first screw.
How we hang
Long sheets, run across the framing, to cut the number of joints. Seams kept away from door and window corners. Ceilings first so the wall board supports the edges.
Screws, not nails, at the proper spacing and depth. Framing checked beforehand, because drywall cannot straighten a crooked stud. Cut-outs tight to boxes.
Where
New homes
Whole house.
Additions
Tied into existing walls.
Remodels
Rooms taken to the studs.
Basements and garages
First-time finish.
Commercial
Steel stud partitions.
Single walls
One partition or closed opening.
Sequence
Measure
Board counted by room.
Deliver
Stocked where it is used.
Check framing
Fix bows, add backing.
Hang
Ceilings, then walls.
Scrap out
Site left clean.
Board by location
Walls: 1/2-inch. Ceilings: 5/8-inch or a sag-resistant 1/2-inch. Garage and furnace room: fire-rated. Baths and basements: moisture-resistant. Showers: cement board, not drywall.
We bring 12-foot sheets when they will fit through the door. Fewer joints is always better.
What it gets you
Flat walls
On checked framing.
Fewer seams
Less to finish, less to crack.
Correct materials
For fire and moisture.
A clean handoff
To the finishers.
What the estimate lists
Sheet count
By type and length. Standard, 5/8-inch, moisture-resistant, fire-rated.
Surfaces
Walls and ceilings by room.
Framing
Wood or steel, and spacing. Any correction needed before board is noted.
Stocking
Delivery and carrying to the floor where it will be used.
Hang only, or hang and finish
Stated clearly. If finishing is included, the level is given.
Scrap
Removal of offcuts and packaging.
If someone else will be finishing, the estimate is for the hang alone and the board is left ready for a taper.
How the days run
For a room addition or a few rooms of new construction.
Before day one
Board delivered and stacked flat in the space so it can adjust to the temperature.
Day one: check and ceilings
Framing checked with a straightedge. Blocking confirmed. Ceilings hung across the joists.
Day two: walls
Top sheets tight to the ceiling, bottom sheets lifted to meet them. Openings cut after the sheet is up so no joint lands on a corner.
Day three: detail
Closets, returns, soffits. Every sheet pressed and checked for movement. Extra screws where needed. Scrap out.
Then: tape and finish
Starts the next working day if the space is heated. Follows the taping schedule from there.
A single room can be hung in a day. A whole house takes a crew most of a week.
What we need from you
Framing that is finished and straight. We check it, but large corrections belong to the framer. Studs at regular spacing, blocking in place, door and window openings framed to size.
Everything in the walls complete. Electrical, plumbing, ducts, low-voltage cable, insulation and vapor retarder. If there is a permit, rough inspections signed off.
Blocking locations. Tell us where cabinets, vanities, grab bars, televisions, heavy mirrors and stair rails will go. We confirm there is backing and mark it.
A route in and a place to stack. Board is heavy and long. Tight stairs, low doorways and soft ground outside are things to mention before delivery.
Heat, if finishing follows straight away.
What can change the plan
Framing problems. A bowed stud, a crowned joist, or a wall out of plumb shows through finished board. Small ones we fix. Larger ones go back to the framer before we hang that wall.
Work not finished. If a cable still has to be pulled or a pipe is waiting on a part, we can leave that wall open and come back to it. It is better than hanging and cutting.
Sheet size. If the planned length will not go up the stairs, shorter board means more joints and a little more finishing.
Additions. A closet added, a soffit extended, a ceiling changed from flat to tray. All possible. Each is priced before it is built.
Mistakes we see in hanging
Joints at the corners of openings
They crack. Run the sheet past and cut the opening out.
Screws through the paper
They hold nothing and pop later.
Vertical sheets on standard walls
More joint length to finish and seams at eye level.
Tight to the floor
Board should sit up off the subfloor or slab.
No stagger on ceiling joints
Lined-up butt joints form a ridge across the room.
After we leave
If we are finishing, taping starts next. If another finisher is, the board is left clean, fastened and ready for them, with scrap removed.
Keep the space heated and dry between hanging and taping. Board left for weeks in a cold, damp shell can take on moisture and move at the joints. The sooner the tape goes on, the better the result.
Notes from the job
Sheet length is the first decision. Longer sheets mean fewer butt joints, and butt joints are the hardest to hide. Twelve-foot board is standard for us on walls wherever it will fit into the building. Eight-foot board is for tight access and small rooms.
Ceilings go first so the wall sheets can support the ceiling edges. Sheets run across the joists, and end joints are staggered from row to row. On wide framing or under heavy insulation we use five-eighths board, which stays flat.
Walls are hung horizontally in most rooms. One seam at about four feet is easier to finish and less visible than vertical seams every four feet. Tall walls and some commercial work are the exception.
Fastening matters more than it looks. Screws are spaced closer on ceilings than on walls. Each one is set just below the surface without breaking the paper. A screw that tears through holds nothing, so a second goes in beside it.
Openings are cut in place. The sheet is hung across the door or window and the opening is routed out after. That keeps joints away from the corners, where the framing flexes and cracks start.
Gaps are deliberate in a few places. A small space at the floor keeps the board off any moisture. A small space where board meets a tub flange or a window frame gets sealed, not jammed tight. Board forced into place cracks as the building moves.
Moisture-resistant board is not waterproof. It belongs on bathroom walls and ceilings outside the wet area. Inside a shower or behind a tub surround, a tile backer board is the right material.
Adhesive is used with screws on some jobs. A bead of construction adhesive on the studs reduces the number of fasteners in the field of the board and cuts down on pops later. It is worth asking about on new construction.
Sound control is decided here. Insulation in the wall cavity, thicker board, or a second layer on one side all reduce noise between rooms. Bedrooms, bathrooms, home offices and laundry rooms are the usual candidates. None of it can be added once the walls are closed.
Take photographs before we hang. Every wall, every ceiling, with a tape measure in a few shots for reference. Label them by room and keep them with the house papers.
Before and after
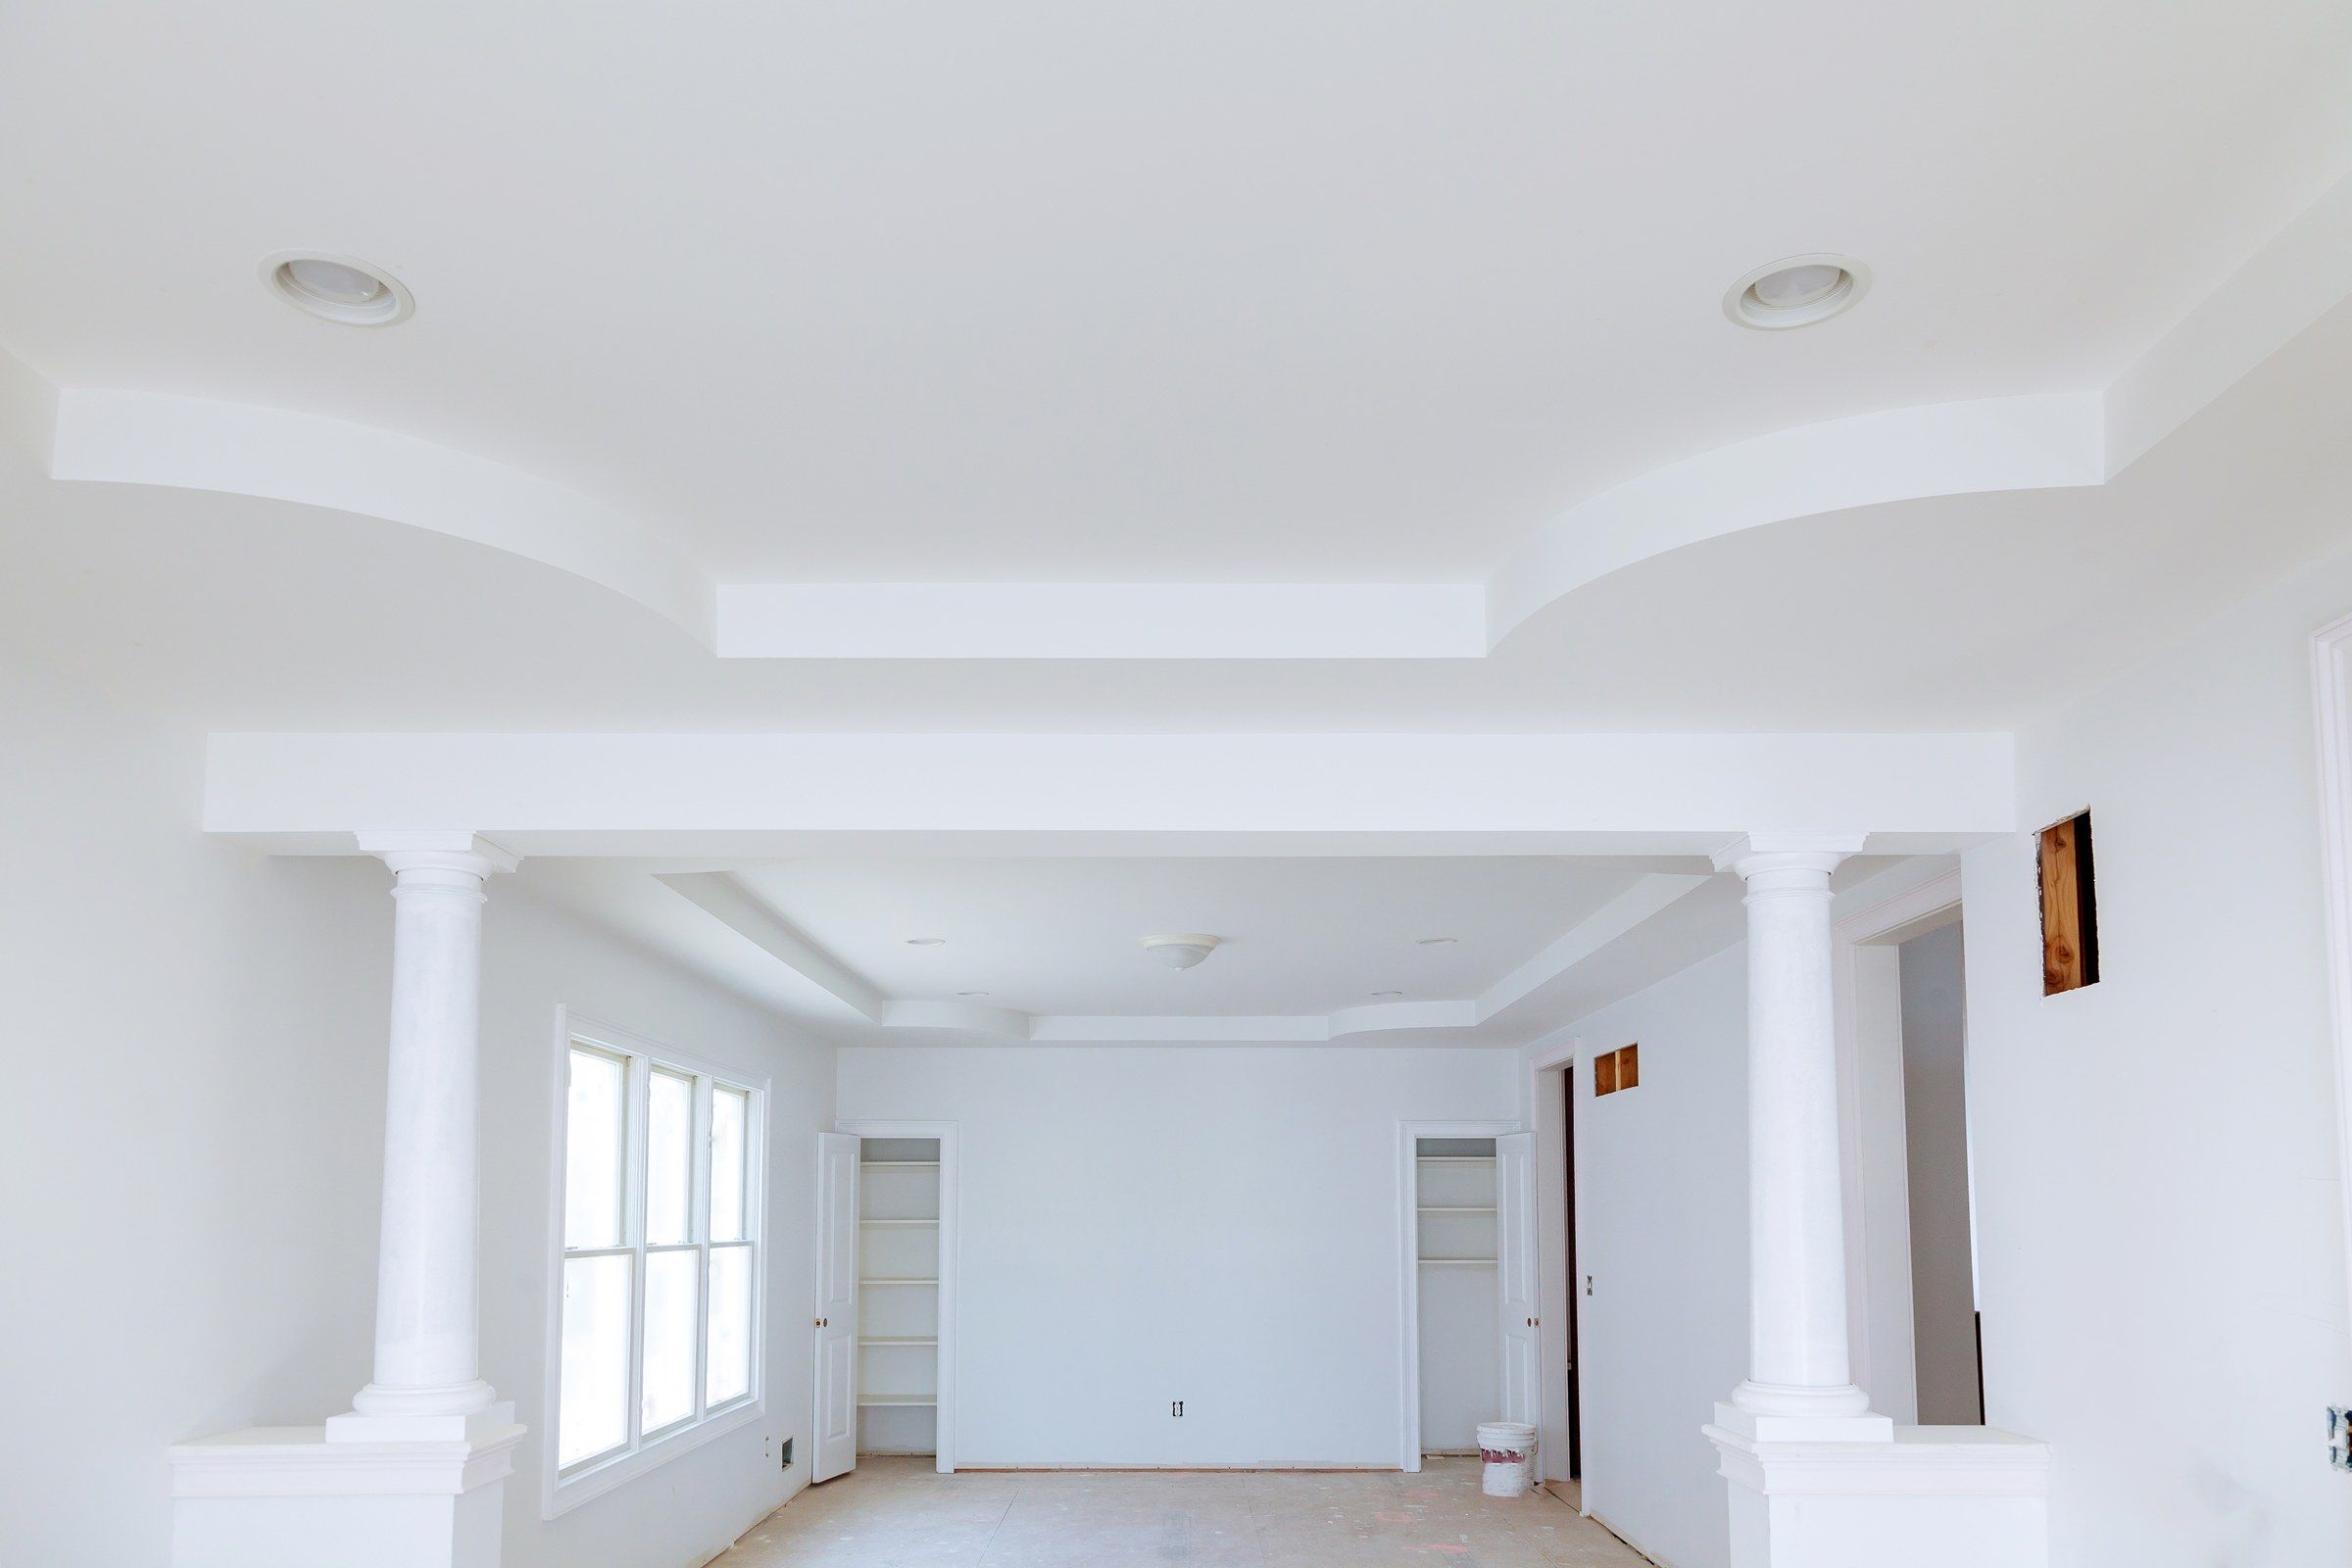
Stock photos, shown to illustrate the result. Not one of our jobs.
Building in the Falls
New construction continues on the north and west sides of the village, and older homes near the center are being opened up and rebuilt. Both need inspections passed before board goes on.
In winter the building needs heat first. Cold framing and frozen compound cause cracks that show up in spring.
Questions
Do you supply materials?
Yes, included in the price. Labor-only on request.
What has to be done first?
Framing, rough wiring and plumbing, insulation and their inspections.
How long to hang a house?
A few days for an average home.
Hang only?
Yes, though most have us finish too.
Can you go over old plaster?
Sometimes, with thin board, if the plaster is sound.
Often on the same job
Need a price on drywall installation?
Send the details. You get a written estimate back, free.